Are you a member looking to learn the basics of railway modelling? Why not come along on a Tuesday evening and join the Starter Layout group? The group meets at 7:30pm in Dean Hall (12:00 if there is a committee meeting in the evening). If you are not a member yet then please visit our Membership page for info on how to join the MMRS.
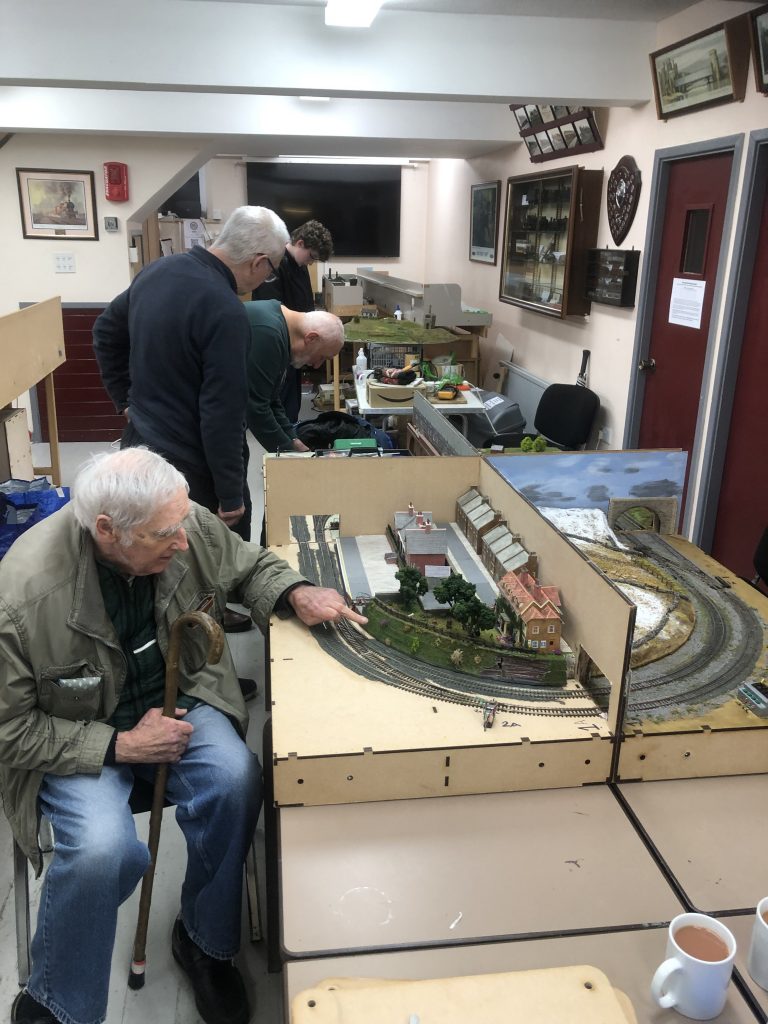
The Starter Layout is doing the job we all hoped it would do for our new and old members who need help in improving their skills. They are such a close knit group that they naturally pass on their skills and techniques as they learn them, telling members of the pitfalls they have done and solved.
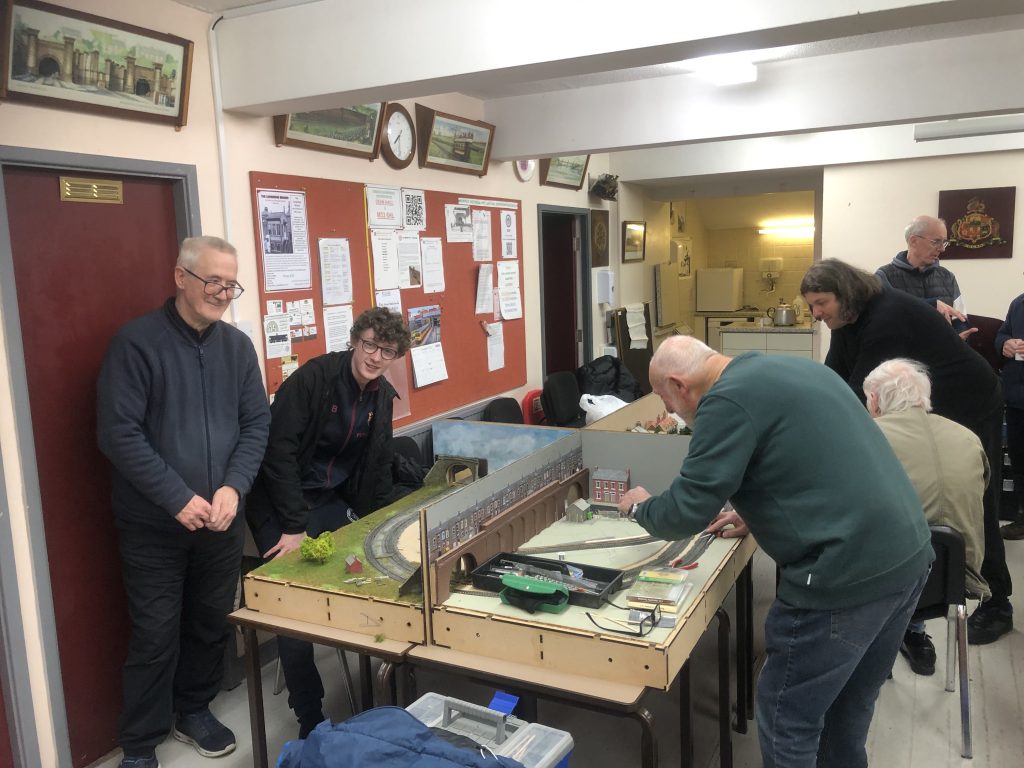
We have moved on in leaps and bounds and as such we are bringing on some very talented modellers. The layout as it progresses gives us opportunities to carry out remedial repairs and to improve on what has gone on in the past.
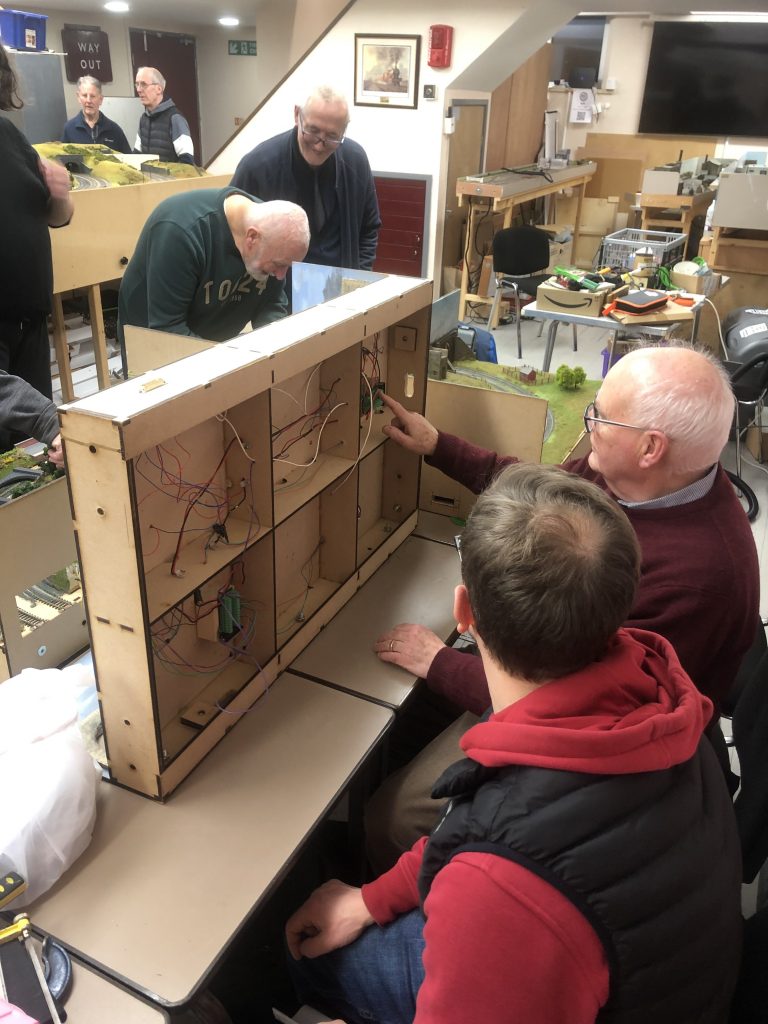
One of our new members is making up a layout now at home and is a complete beginner and we could show him our construction of the boards, the wiring so far, our ballasting and the different scenic details we have made and how we did it. He visited us as we were changing a damaged point and had our boards up on end; so he could see our progress and pick up tips. He immediately signed up for the next soldering course.
We are currently about to fit a signal and, a 12volt bus is required to supply it. This bus will enable more signals to be added as required. The layout changes to suit the member and our wonderful seasoned members are forever giving up their time to make it a success.